
Project Goals
Project Proposal-
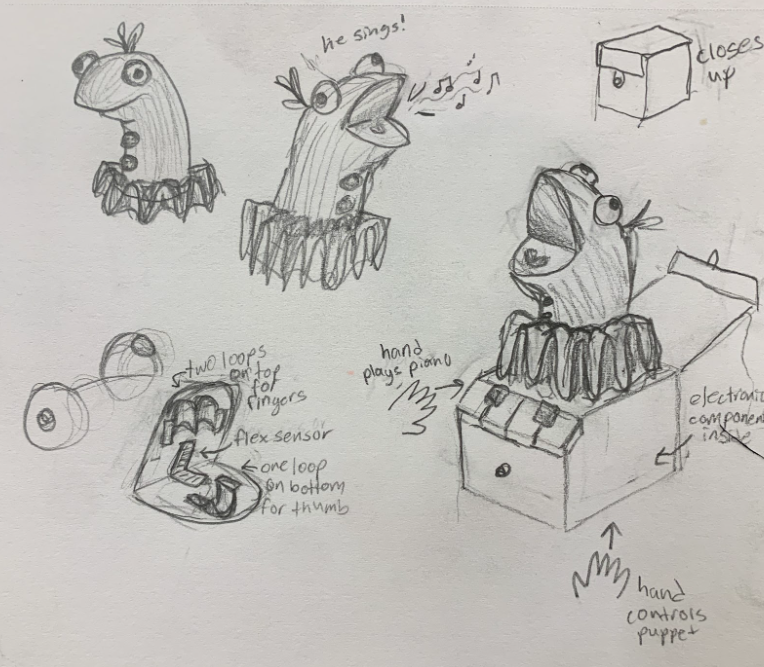
I plan to make a musical device featuring a control box and musical puppet. Ideally the control box will mimic a piano, where you control the notes played by pressing separate buttons and can play several notes at once. The actual volume will be controlled by the puppet, and how open its mouth is. My current plan is to use a flex sensor inside of the puppet, so that I can receive an analog input that I can translate to the volume. In addition to this I can set the Arduino to recognize what sensor values correspond to the mouth being closed, so that no noise is played. While a flex sensor would be ideal, I could also achieve similar results with potentiometers or a tilt sensor if needed. The box portion provides convenient storage for the electrical components, but I do hope to include components in the puppet itself. Aside from the sensor, I would also like to house the actual speaker in the puppet, giving the effect of the noise coming from its mouth. Overall my intention is to create a musical toy of sorts for entertainment purposes.
Sketches-
Obstacles
Quiet Speakers-
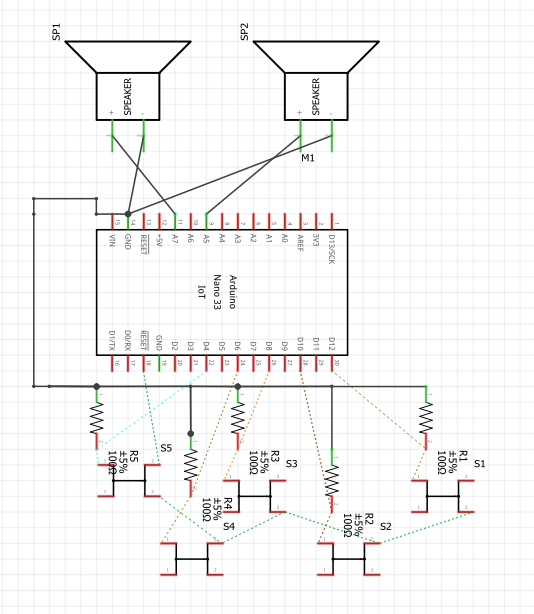
I was working with 8 ohm speakers and no amplifiers, so any noise produced was often hard to hear. This made a changing volume much harder to execute, since it would only make everything quieter. I was able to somewhat address the problem by working with two speakers from two different pins, which would alternate tones in short intervals. This gave the result of two speakers working at once, with a stereo effect.
Flex Sensor-
One large part of my project was to have the puppet's mouth control the volume of the speakers through the use of a flex sensor. Unfortunately, going directly from the Arduino, to the flex sensor, to the speakers would result in little to no sound produced. This is due to the high resistance already produced by the flex sensor. Ideally I would be able to take the flex sensor as an Arduino input, and then output an analog voltage to the speaker as well as a tone. However this did not seem possible. The tone function already uses the PWM to produce an analog-like output, and a variance of volume could not be added (at least with the Arduino Nano). Due to time constraints the flex sensor was cut from the project, but if I were to repeat this project in the future I hope to use the flex sensor similarly to a low-filter bypass that would distort the audio.
Buttons-
The buttons were possibly the most devastating setback in the project. Everything had been working for the buttons, the electronic components were assembled correctly and the program worked as intended, but the housing of the project caused problems. In an attempt to extend the interactive part of them component I had accidentally removed the actual extruded button. This left a hole in the component that needed a stylus of sorts to use them. Usually the buttons could be replaced, but this happened hours before the project was due. Wooden dowels were cut down and aligned to fit in the holes, but it was very rushed and done poorly. Additionally, something else had broken within the buttons making them all unusable.
Process
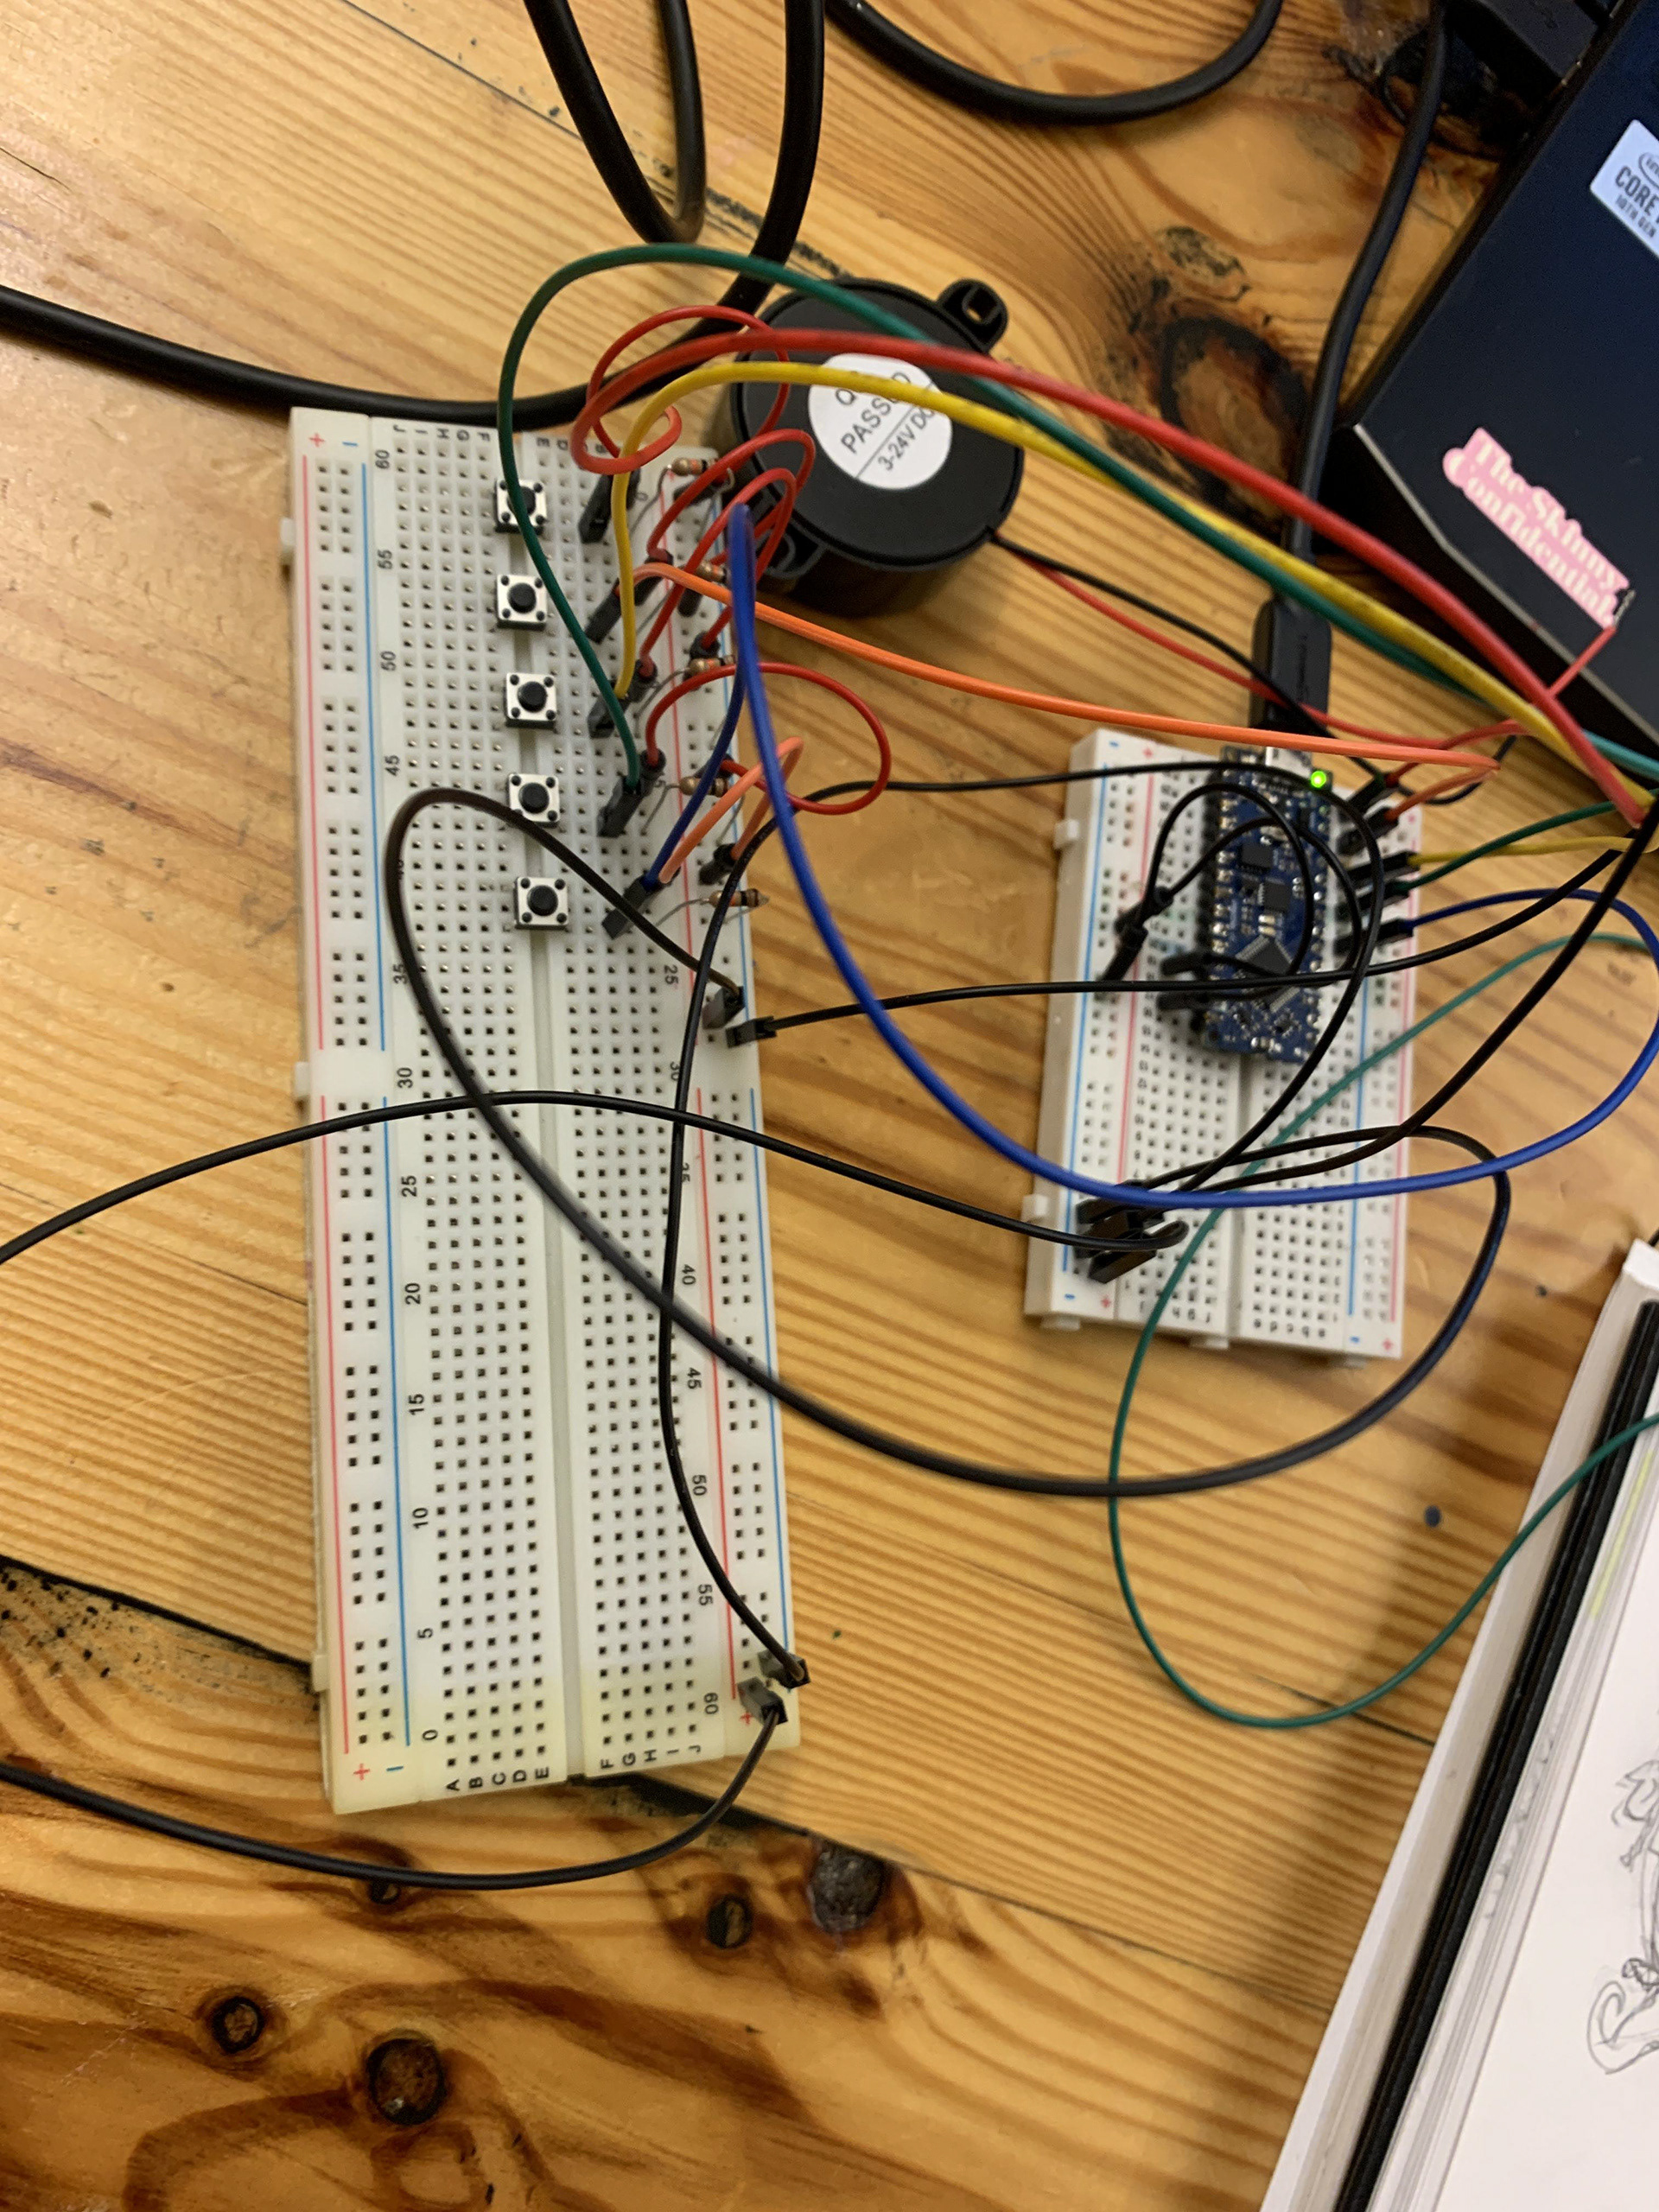
When configuring the electronics and testing them together I went through several phases.
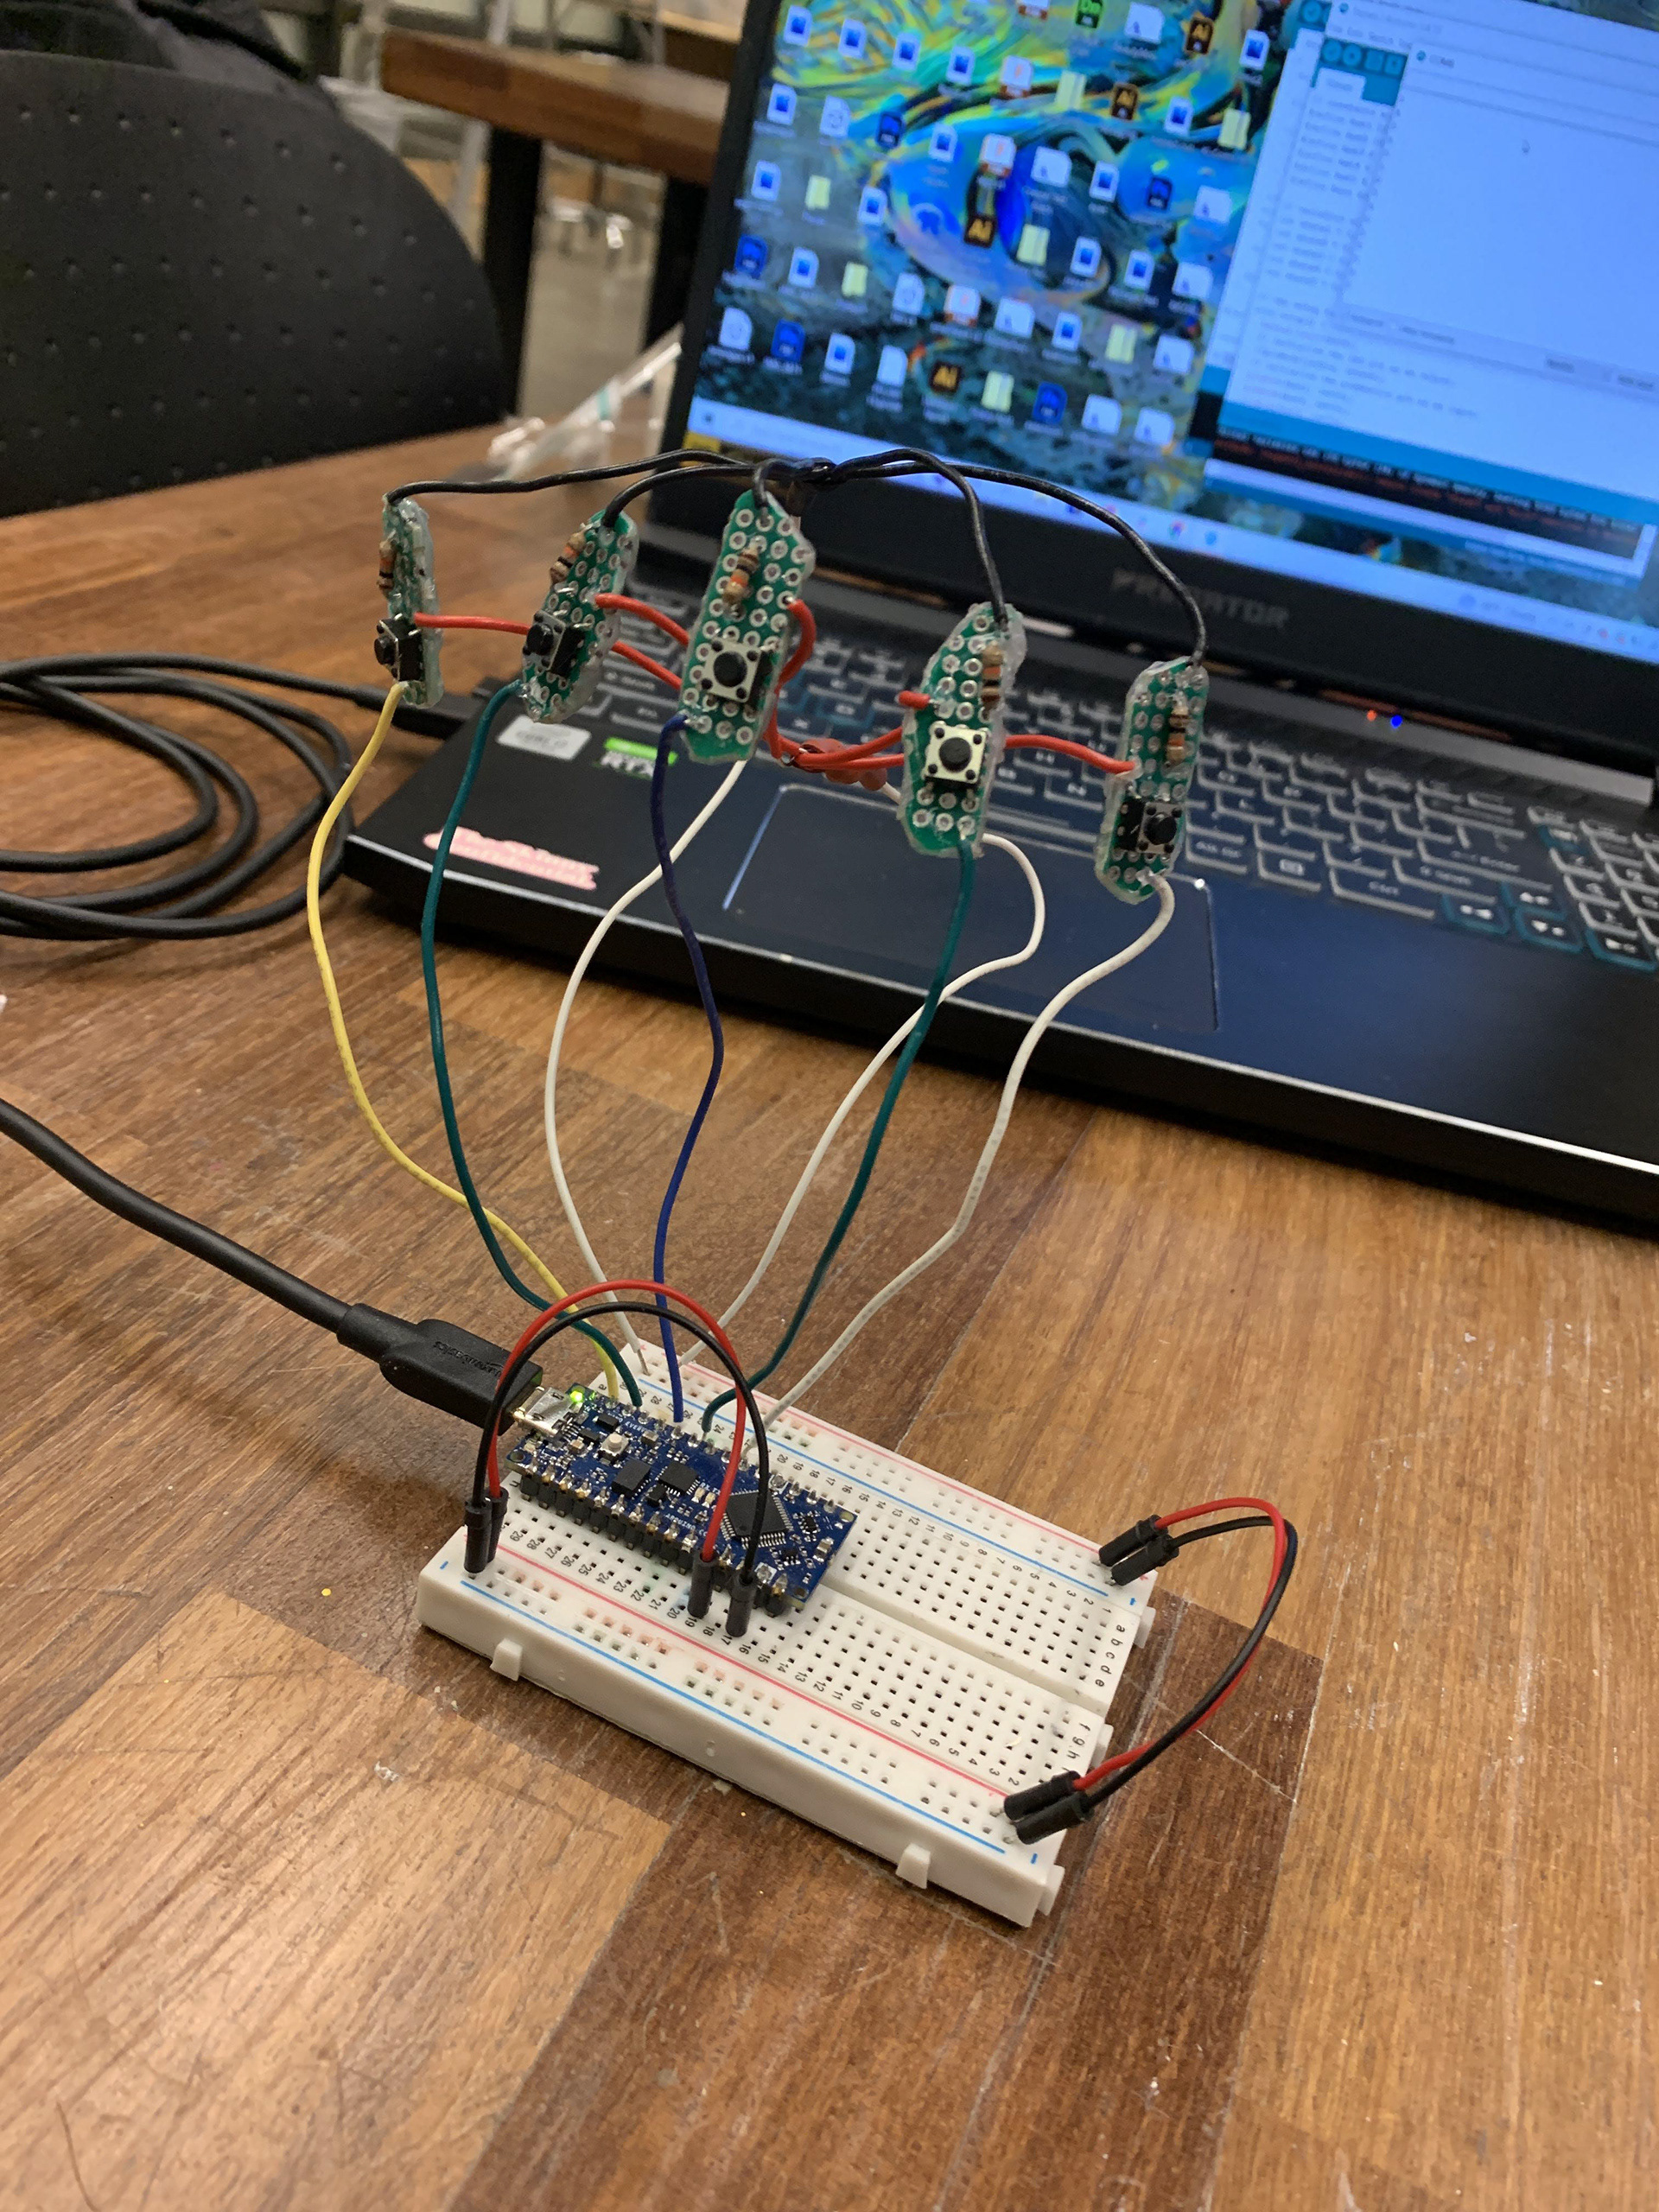
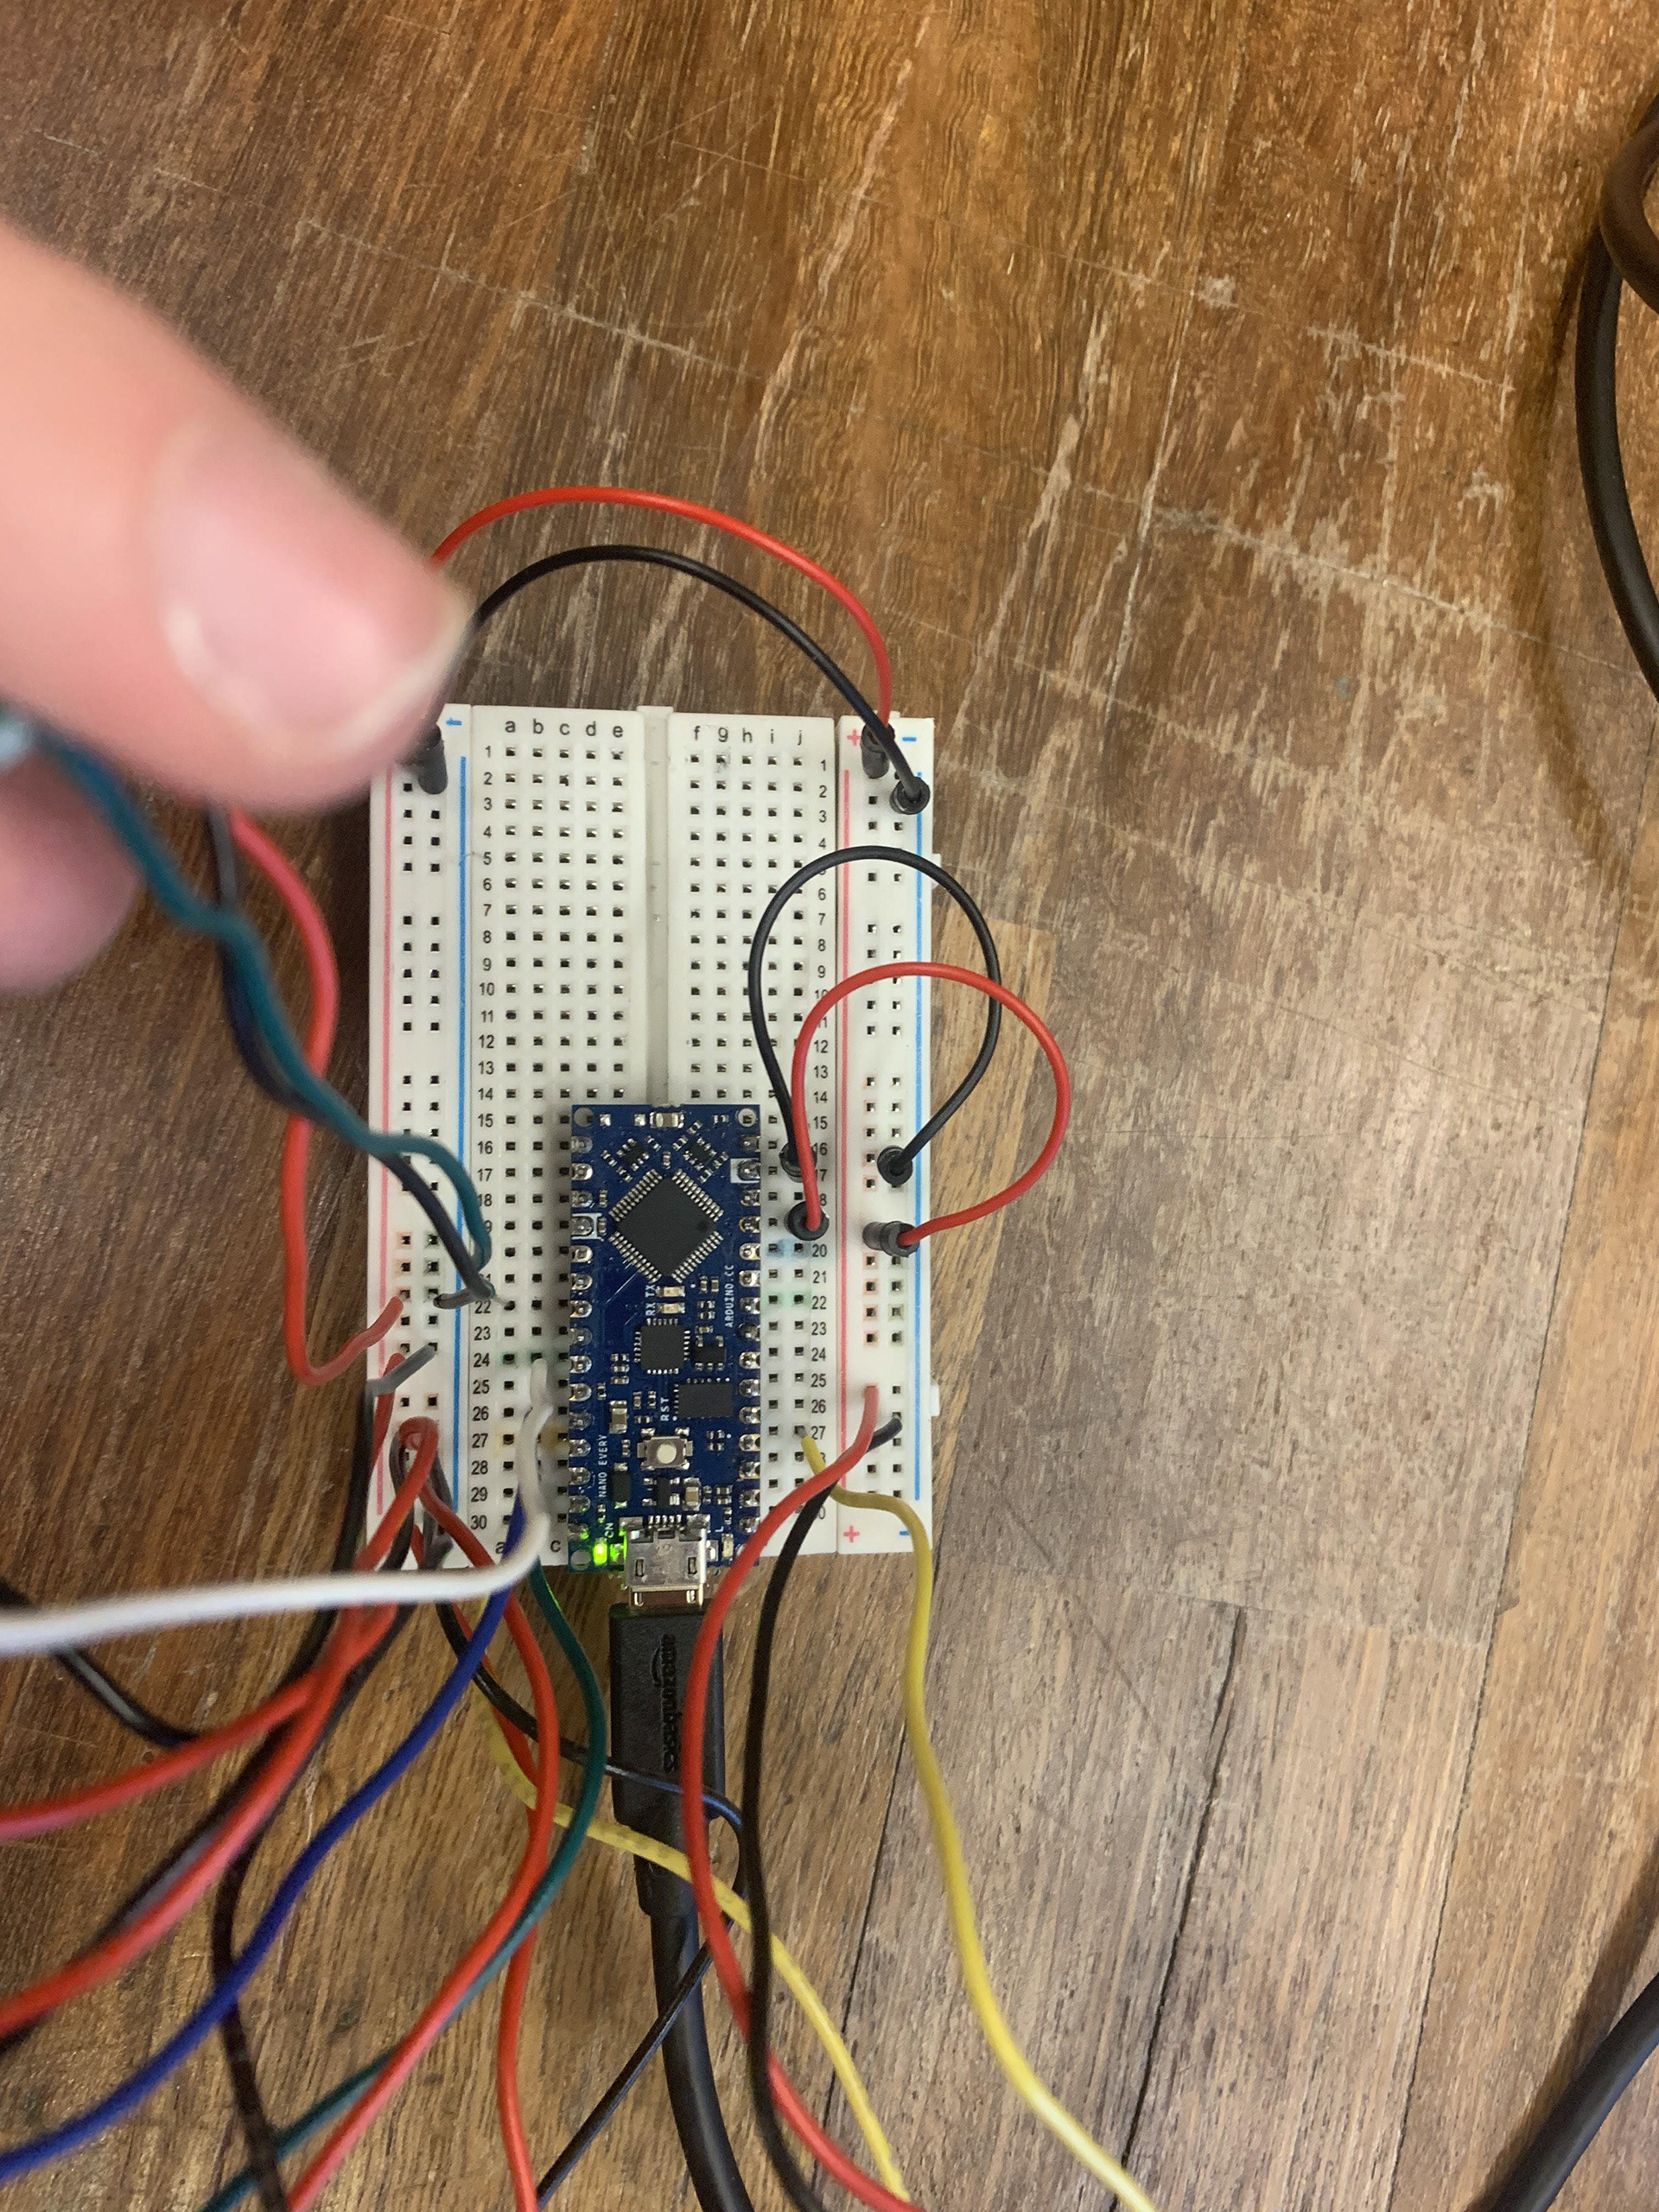
Five Buttons-
Using this code I tested five digital inputs together so that each input was processed separately, and would result in a serial print of the corresponding number 1-5.
One Button and Flex Sensor-
This code was used to print a number several times in a line when a button was pressed, with the amount of prints corresponding to the flex sensor value.
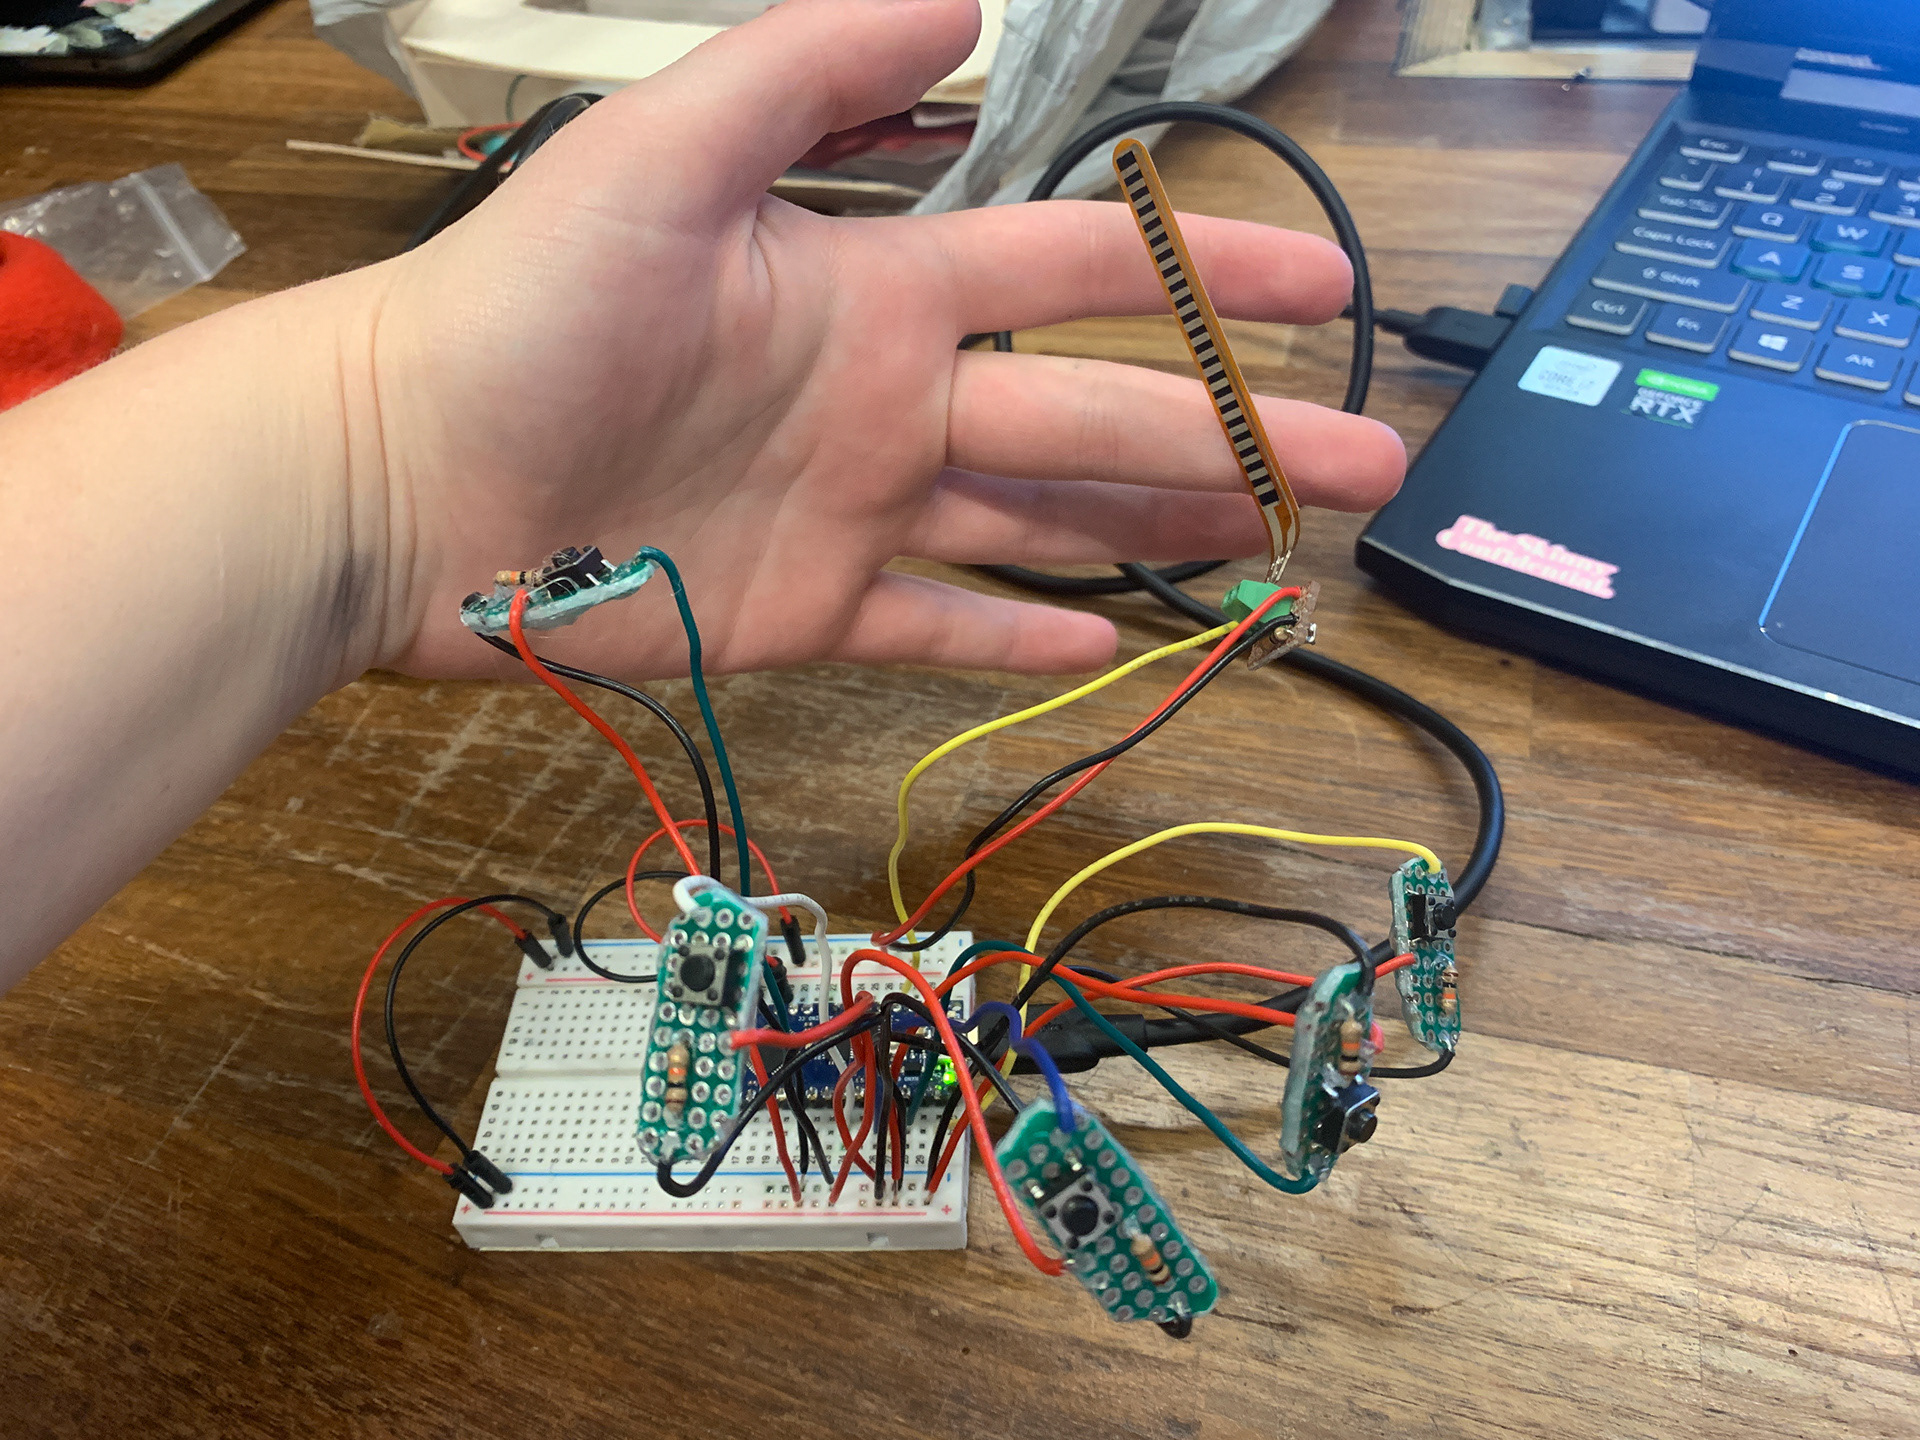
Five Buttons and Flex Sensor-
This code was a combination of the following two, testing all five buttons and the flex sensor. Each button would print a corresponding number, but it would be printed several times in a row dependent of the flex sensor value.
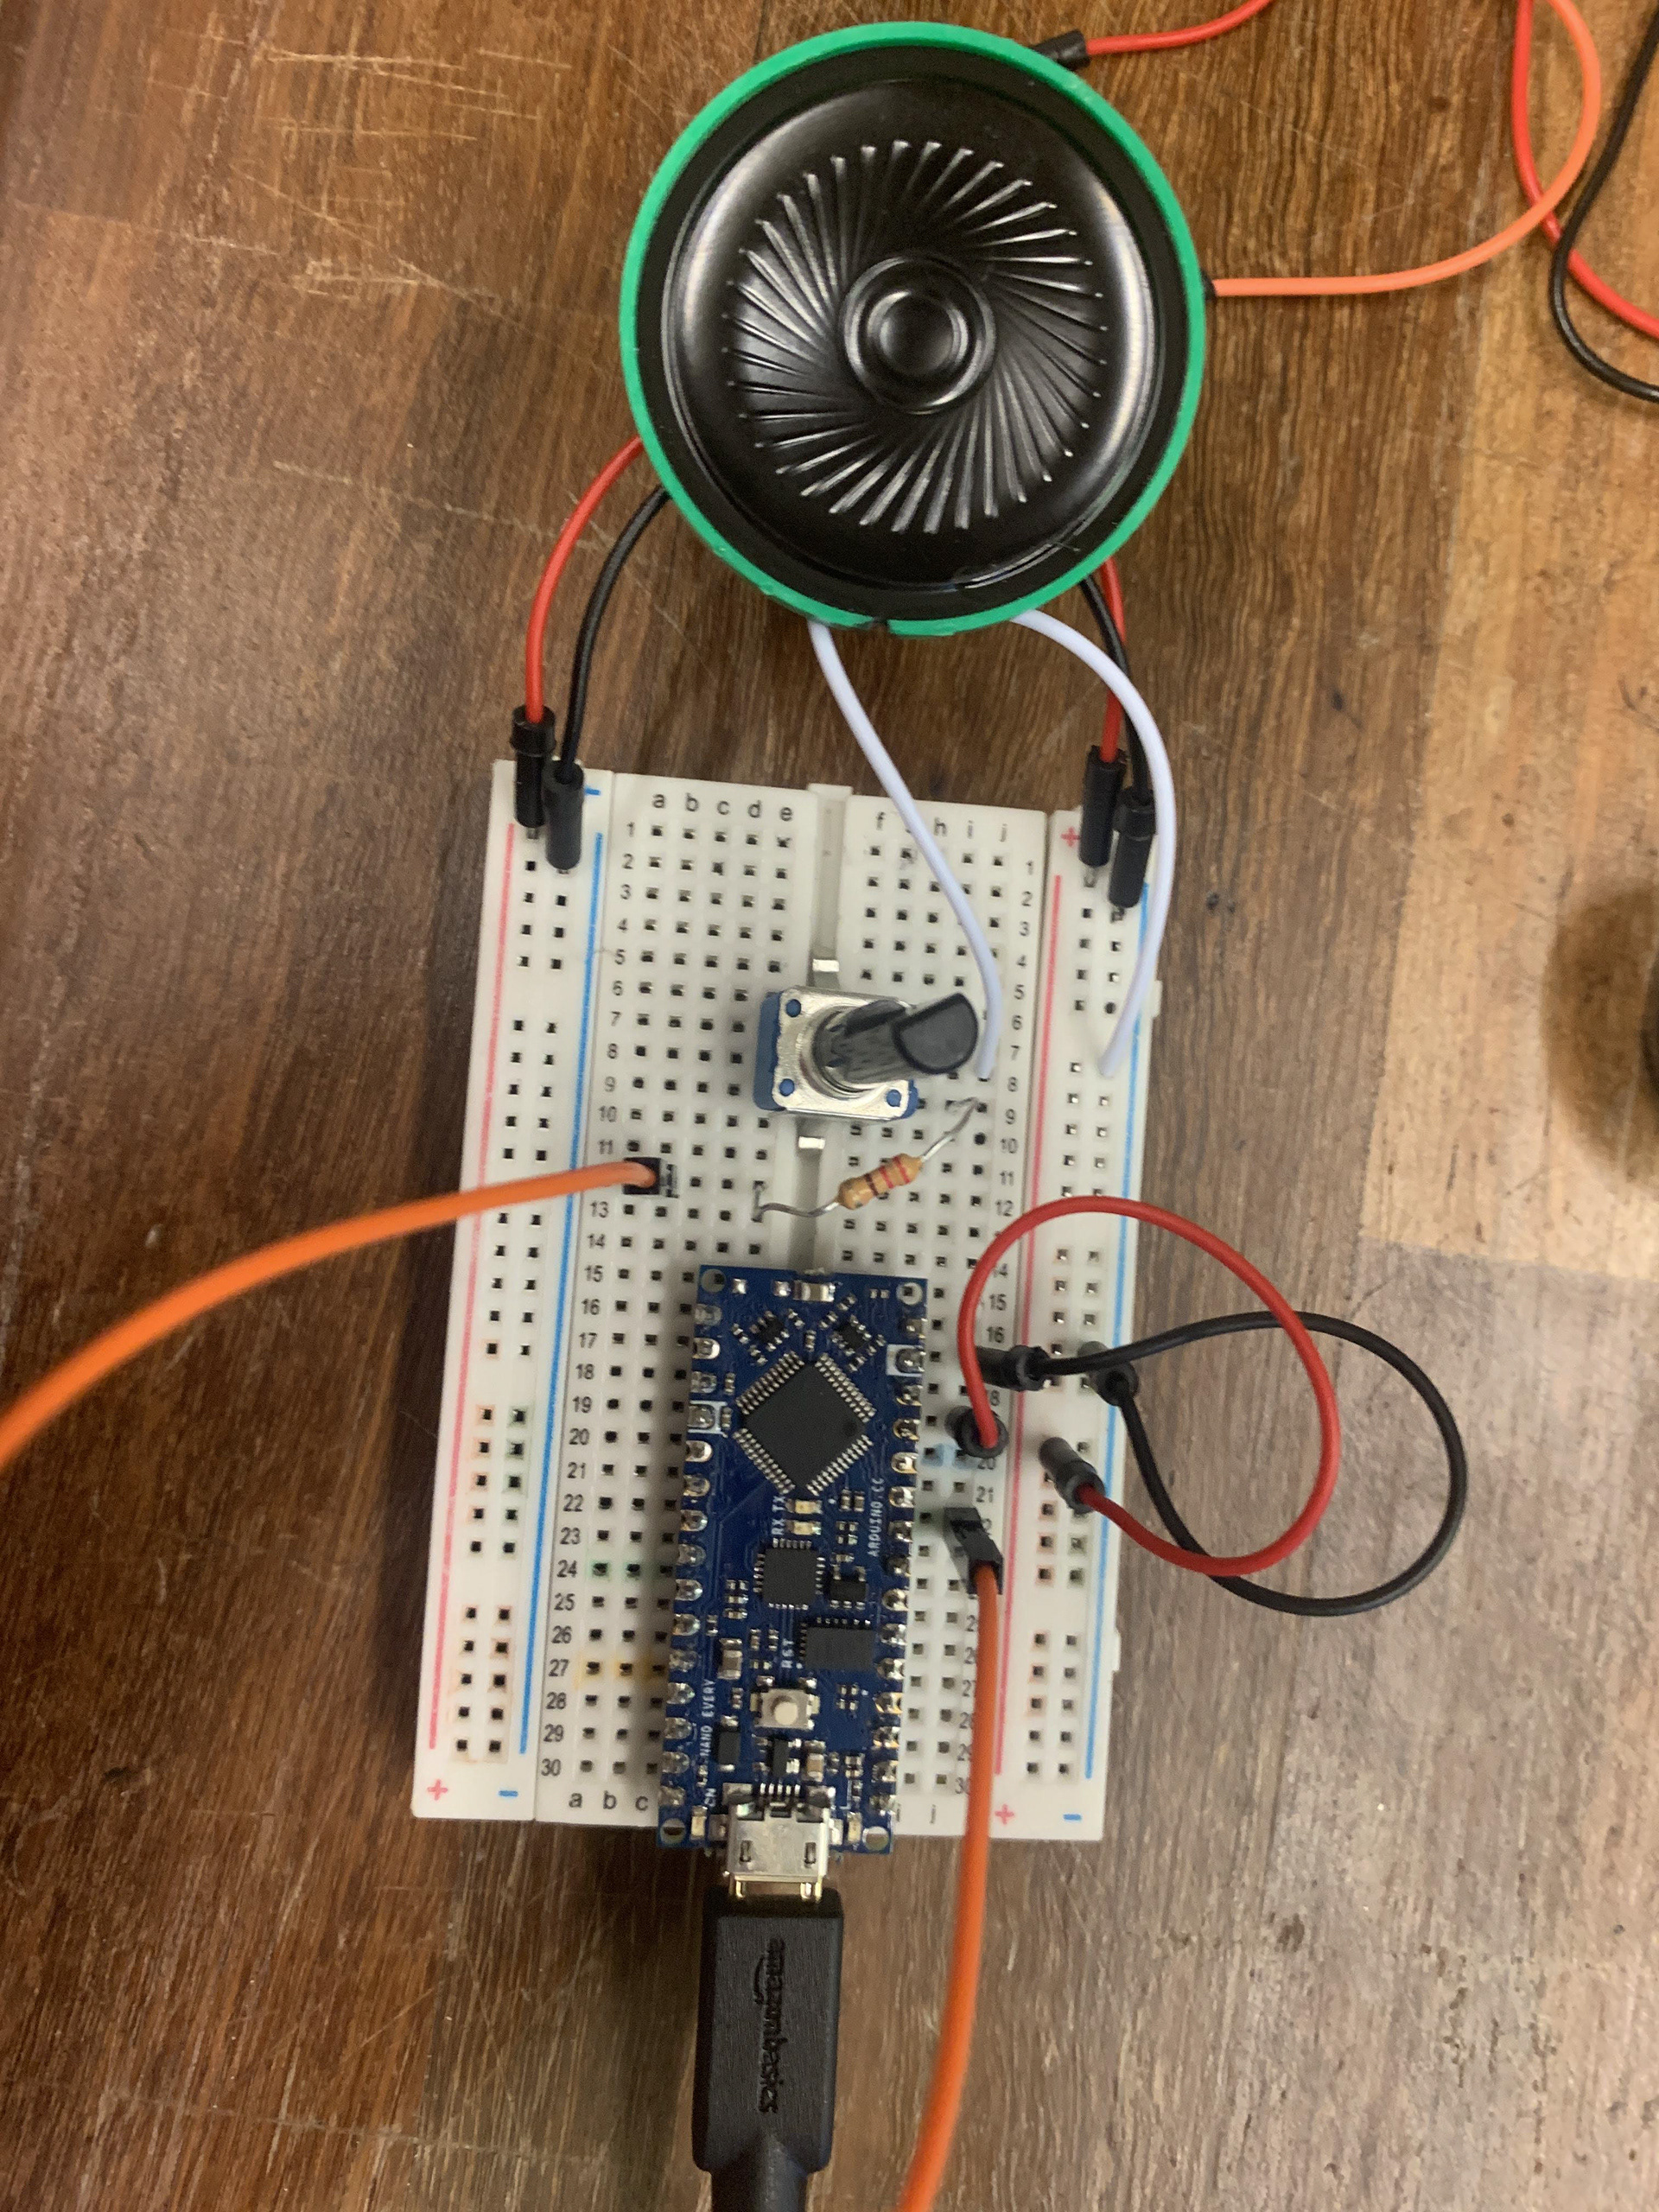
Speaker-
To play around with tones and volumes of the speaker I used variations of this program.
Additional Tests-
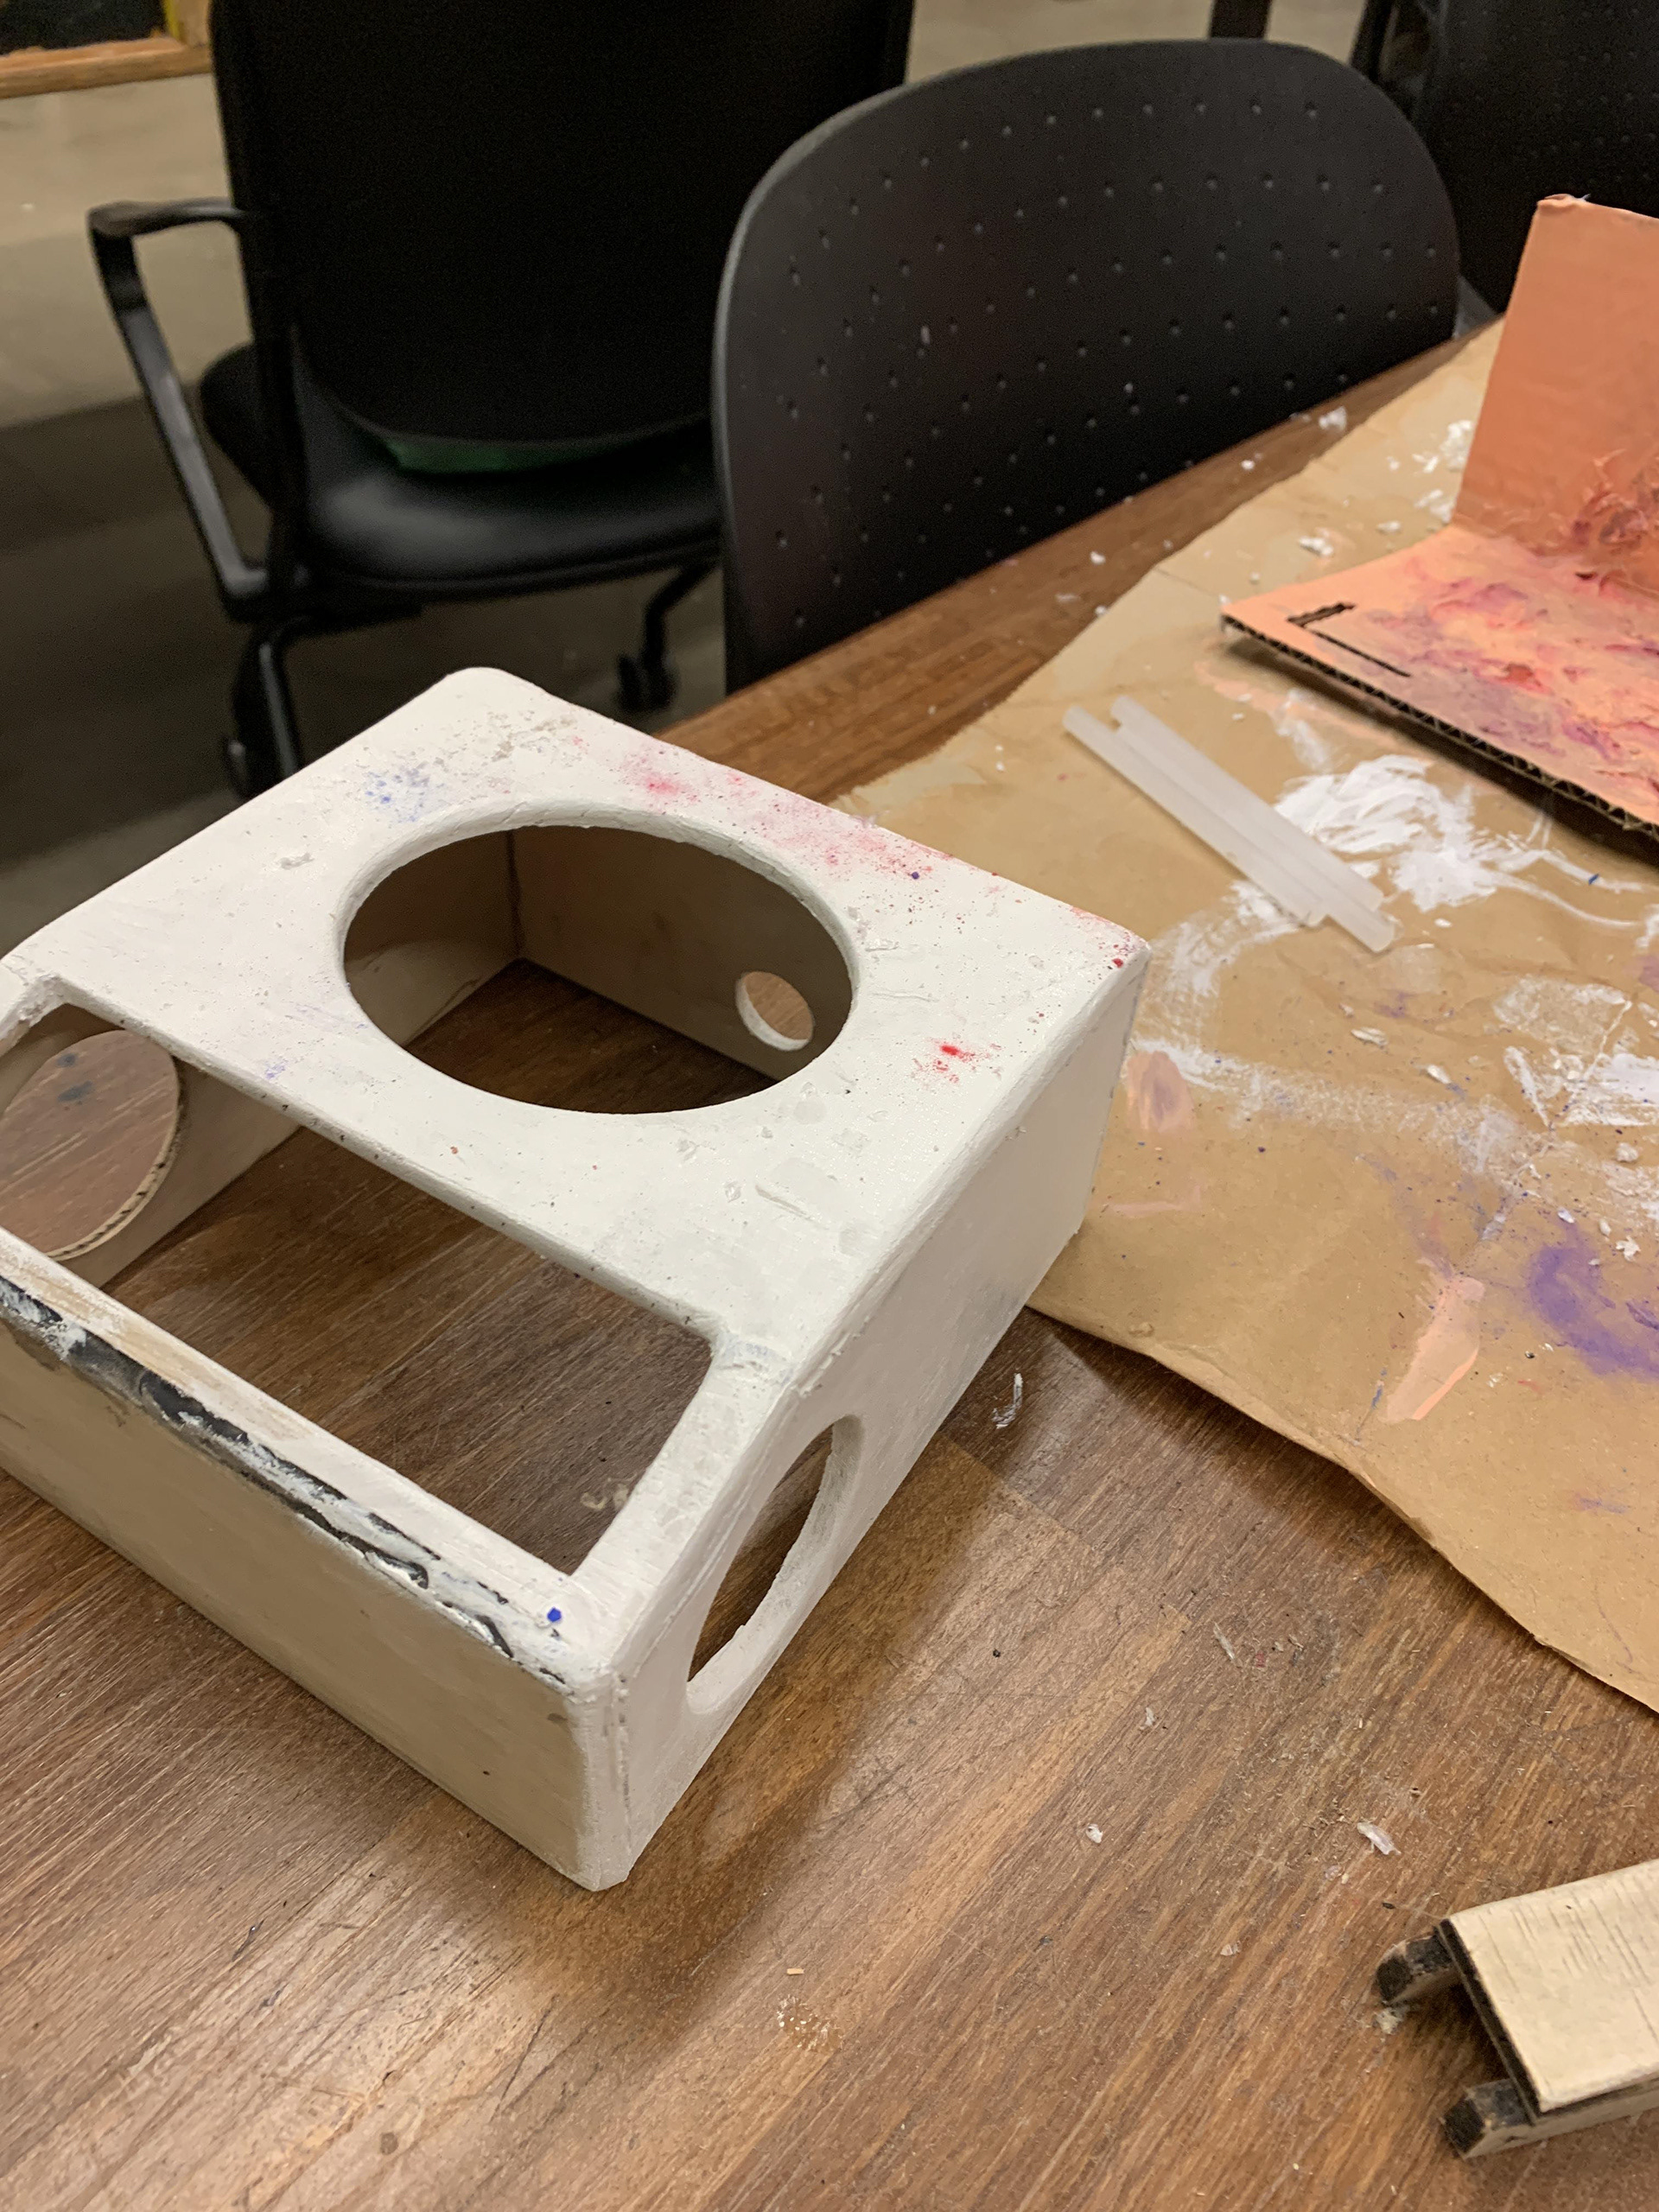
Fabrication-
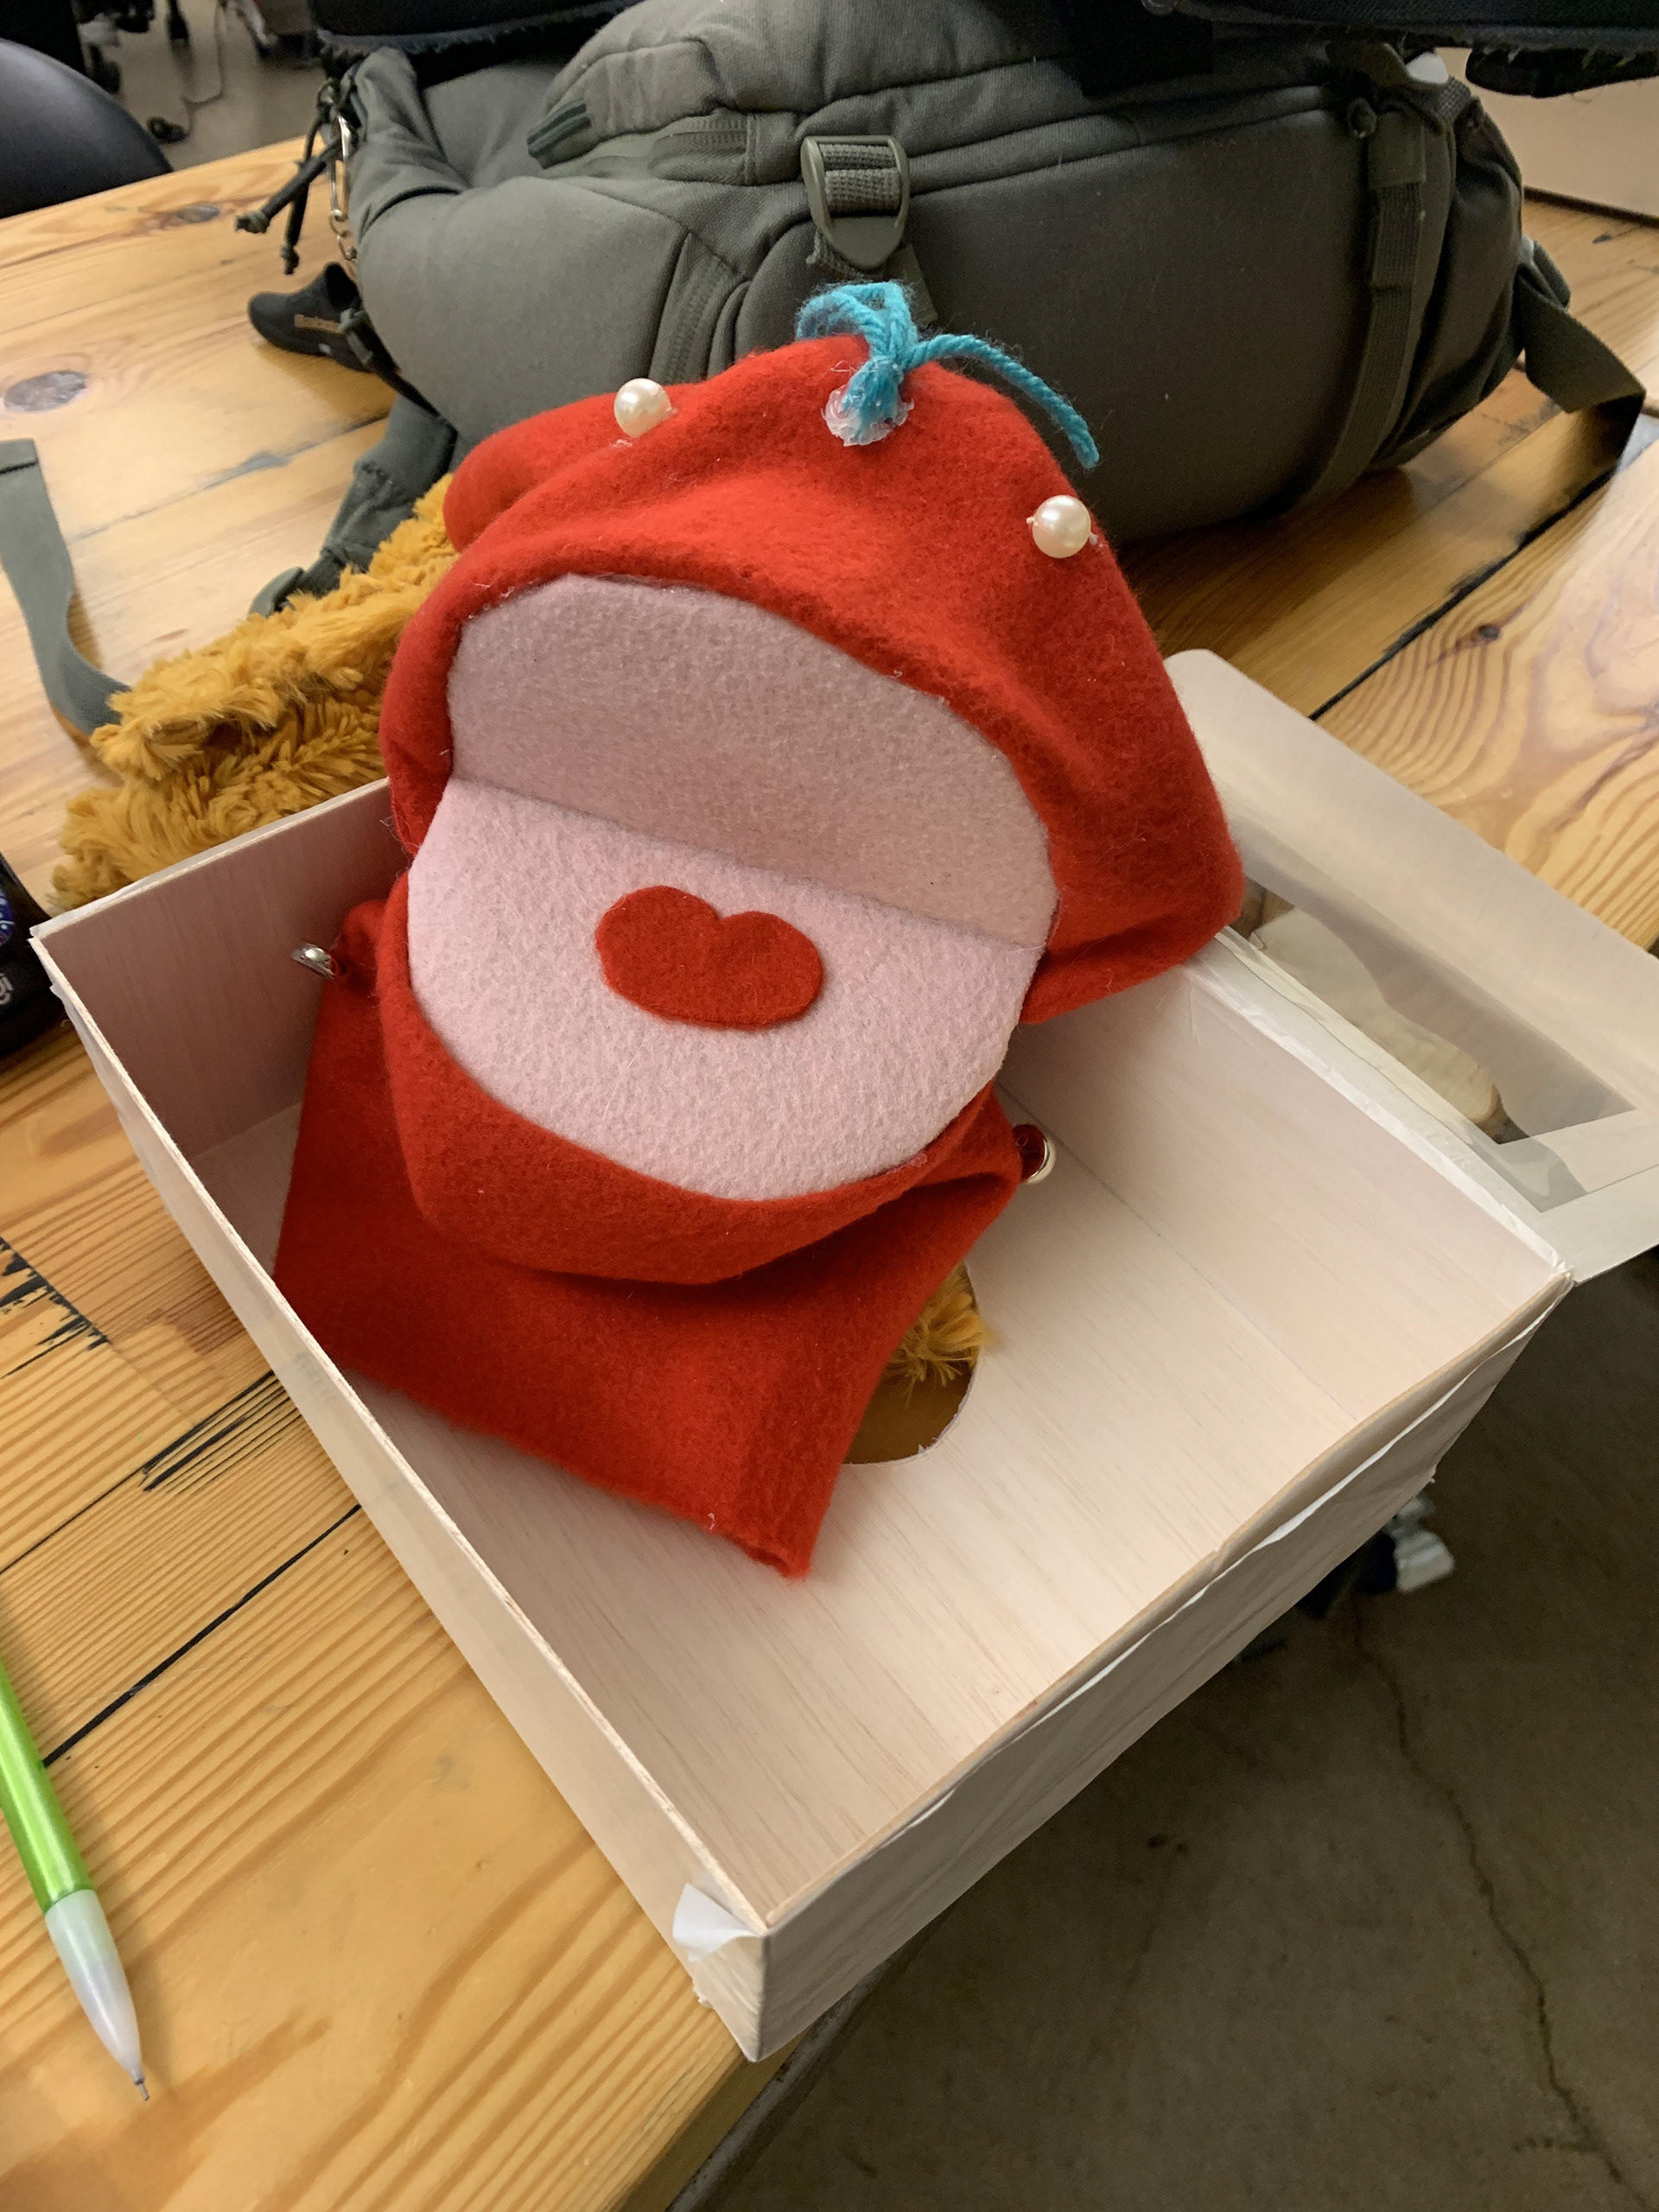
I used felt, hot glue, buttons, cardboard, and yarn to create my puppet (with no specific sewing pattern). For the enclosure I created a 3D model which was used to laser cut the wood. It was assembled with hot clue and then finished with sanding and painting.

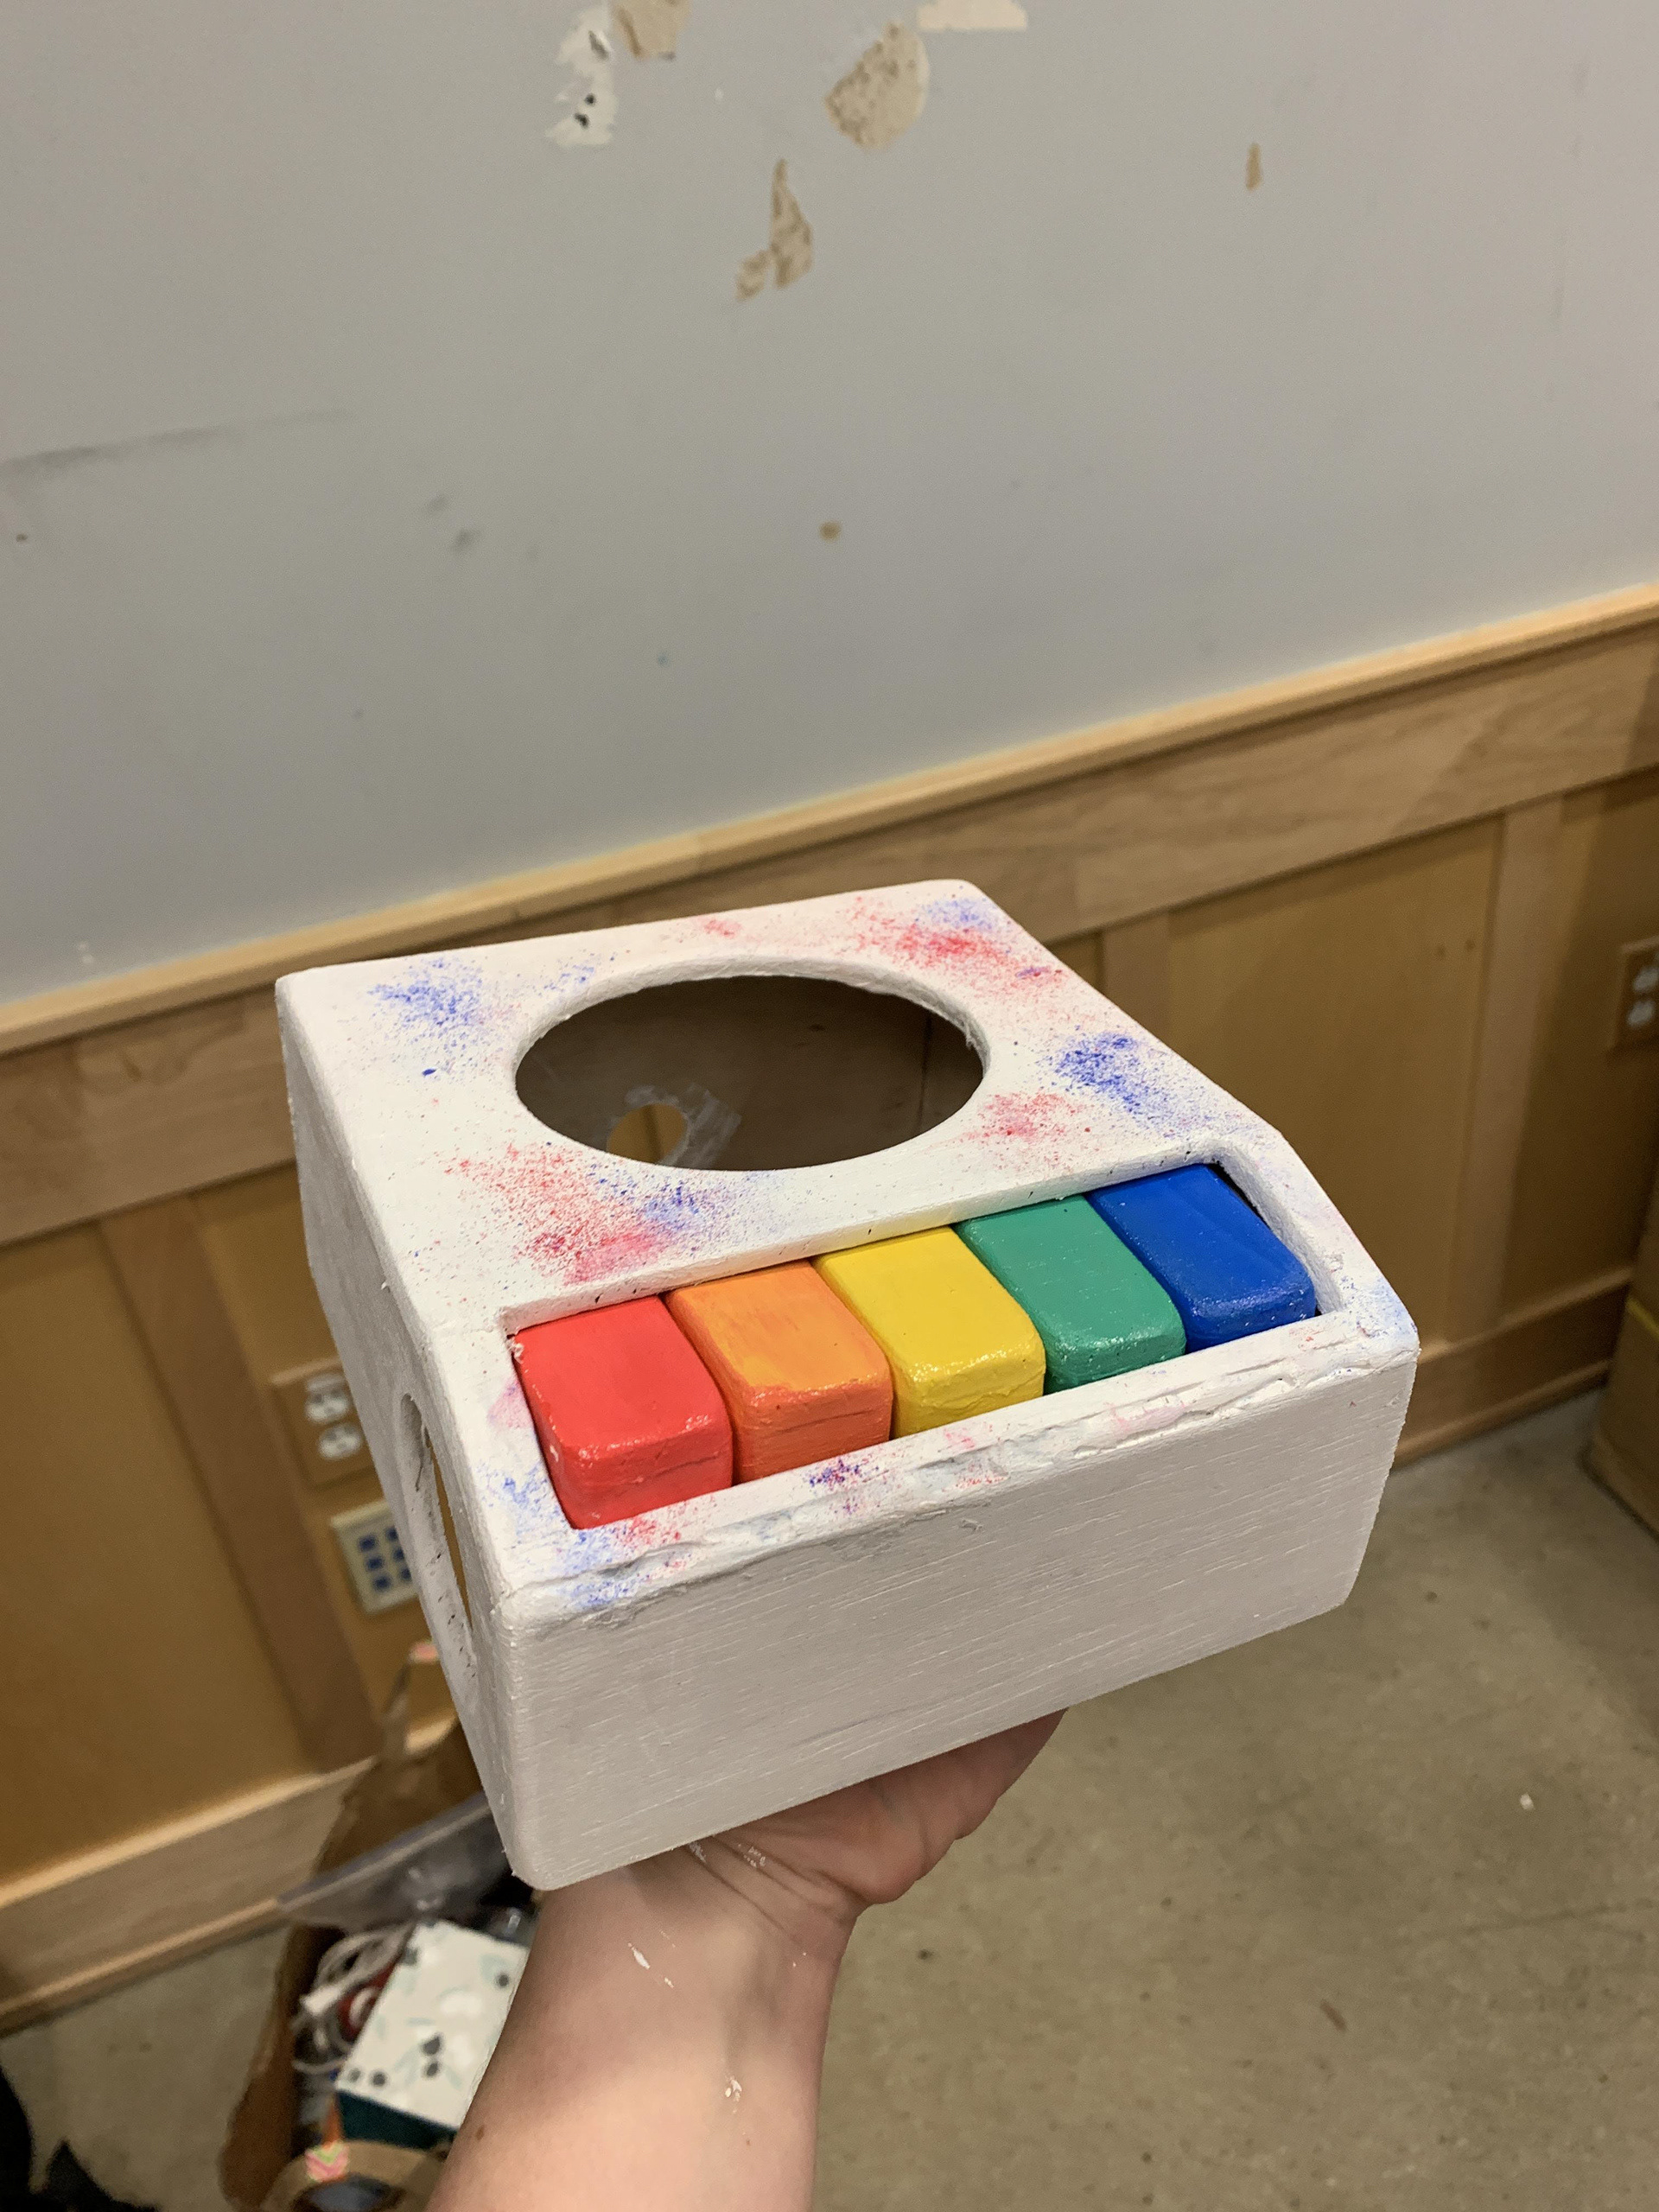

Final Product
At the end of it all I had created a musical puppet. The box had both a hand puppets and different piano keys, the piano keys played different notes to the speakers, and the hand puppet simply provided a fun decoration element. Unfortunately I was unable to get all electronic components into the final enclosure while they were working, but I did get both parts finished separately.
My final program plays different musical notes to both speakers, depending on the button pressed.